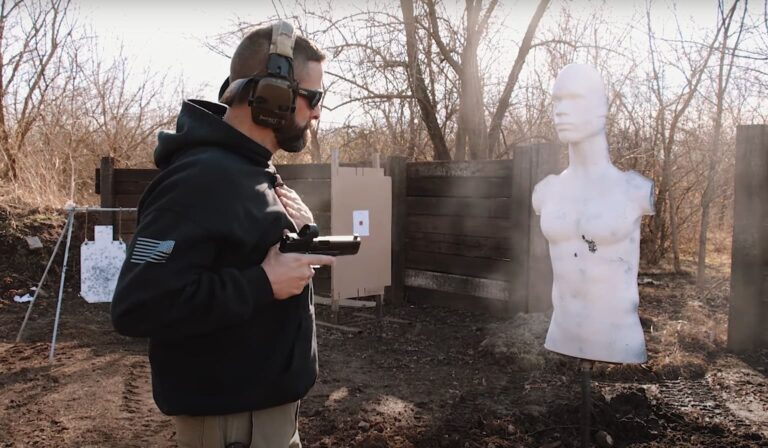
When it comes to practicing and learning self-defense, there’s a few classic drills everyone likes, and there’s often a new drill that’s popular whenever a big defensive shooting hits the news (ex. the “Dickens Drill”). While all of these drills are useful to prepare for real-life defensive possibilities, there’s one drill that many shooters don’t do: shooting from retention.
Rather than just explain it in words, I’ll start by sharing a YouTube video that gives us a good explanation of what it is and how it works.
The truth is that most of the time, a defensive shooting is going to be at close range. There are notable exceptions that are worth preparing for, of course, but they’re a lot less common than a criminal attacker whose already practically on top of you. When that happens, extending the gun and taking aim means that you’re making it a lot easier for the attacker to take the gun from you, so you need to keep it closer to you for leverage.
In other words, it’s all about retention!
To fire this way, you’ll start the same way you’d draw from the holster in any other situation. With a good grip on the gun, draw it up and out of the holster. But, instead of joining with the other hand and extending it, you’ll simply drop your elbow and rock the gun forward, aiming it downrange. Then, without taking aim, point shoot at the best parts of the body you can get to, given the situation.
As the video points out, higher torso hits are a lot better for vital damage, but if you don’t have time to get a perfectly set up retention shot, you should also train to pick up any shot you can. You’d be far better off to hit an attacker in the guts or in the pelvic area than to not hit them at all in the course of a fight. If nothing else, it can slow them down while you use other techniques.
Related Skills You Need To Practice
To get the most out of shooting at close ranges from retention, there are two related skills that need to accompany it.
First off, you need to be ready to deal with someone who gets their hands on your gun. While it’s always good to get in-person training for getting it loose without it ending up in their hands, one simple thing I can convey in this article is the “twist and pull.” if someone gets the gun by the barrel, the sight is going to be near the palm of their hand. Twisting the gun both breaks their grip temporarily and often injures the palm more with the front sight the tighter they squeeze. This gives you a chance to pull it back in close to yourself.
There’s a good chance that the gun malfunctions in the course of this kind of close-in fighting. So, clearing malfunctions is another vital skill. One thing you can practice when doing the “twist and pull” is to rack the slide after the pull. This clears most malfunctions and keeps the gun ready to fire afterward.
So, really, it’s more of a “twist, pull, rack” maneuver/drill.
While I’ve written a number of articles about the importance of also training for longer shots with your pistol, the fact is that you’re more likely to need this skill than you are to need to deliver good hits from 40-plus yards. So, be sure to at least practice retention shooting on some range trips between other drills to hone your fundamentals.
Read the full article here


